Custom packaging has to do two jobs: present the brand clearly and get the right products to the recipient in good condition. A polished unboxing starts with the contents, dimensions, and delivery plan, then adds the artwork, inserts, and personal details.
This guide is for teams planning e-commerce orders, corporate gift boxes, press packs, and event kits. Use it to prepare a packaging brief before comparing finishes or committing to a production run.
Start With the Product and Delivery Method
List everything that belongs in the package, including printed material and protective components. Record product dimensions, weights, quantities, and any variations. If products are still being selected, mark those decisions as open so the box is not designed around assumptions.
Next, decide how recipients will receive it. A gift presented at an event, a bulk carton sent to an office, and an individually shipped package have different handling requirements. Presentation packaging may need a separate outer shipper.
- What must fit inside the finished pack?
- Which items need protection or separation?
- Will the recipient carry it home or receive it by delivery?
- Are there size, storage, or receiving constraints?
- Who will assemble the pack and check its contents?
Choose Packaging Components That Earn Their Place
Each component should serve a purpose. A fitted insert can organize the contents, tissue can separate layers, and a concise card can explain the gift. Avoid adding layers simply to make the package appear more elaborate.
- Outer box or bag: Match dimensions, carrying needs, and the delivery method.
- Internal protection: Keep products positioned and account for surfaces that can mark or scratch.
- Tissue, sleeves, or seals: Use them to organize the opening sequence or carry coordinated artwork.
- Insert card: Give recipients a useful welcome, care instruction, or next step.
- Shipping label: Keep routing information readable and separate from decorative graphics.
Compare JNP’s custom packaging and unboxing options once the contents and distribution requirements are defined.
Keep the Branding Clear and the Message Useful
Use an approved logo, color references, and a consistent type treatment across the package. Review the artwork on the actual dieline or available proof, paying attention to folds, seams, closures, and small text.
Personalization can be as simple as a name or a relevant note. When packs differ by recipient, use one approved list and a clear way to identify each version. Do not collect details that are unnecessary for the order.
A QR card should lead somewhere worth visiting, such as a product tutorial or event resource. Test the final destination and the printed code. A code alone does not provide tracking; that depends on the linked page and its measurement setup.
A Real Example: TCU Basketball Donor Appreciation
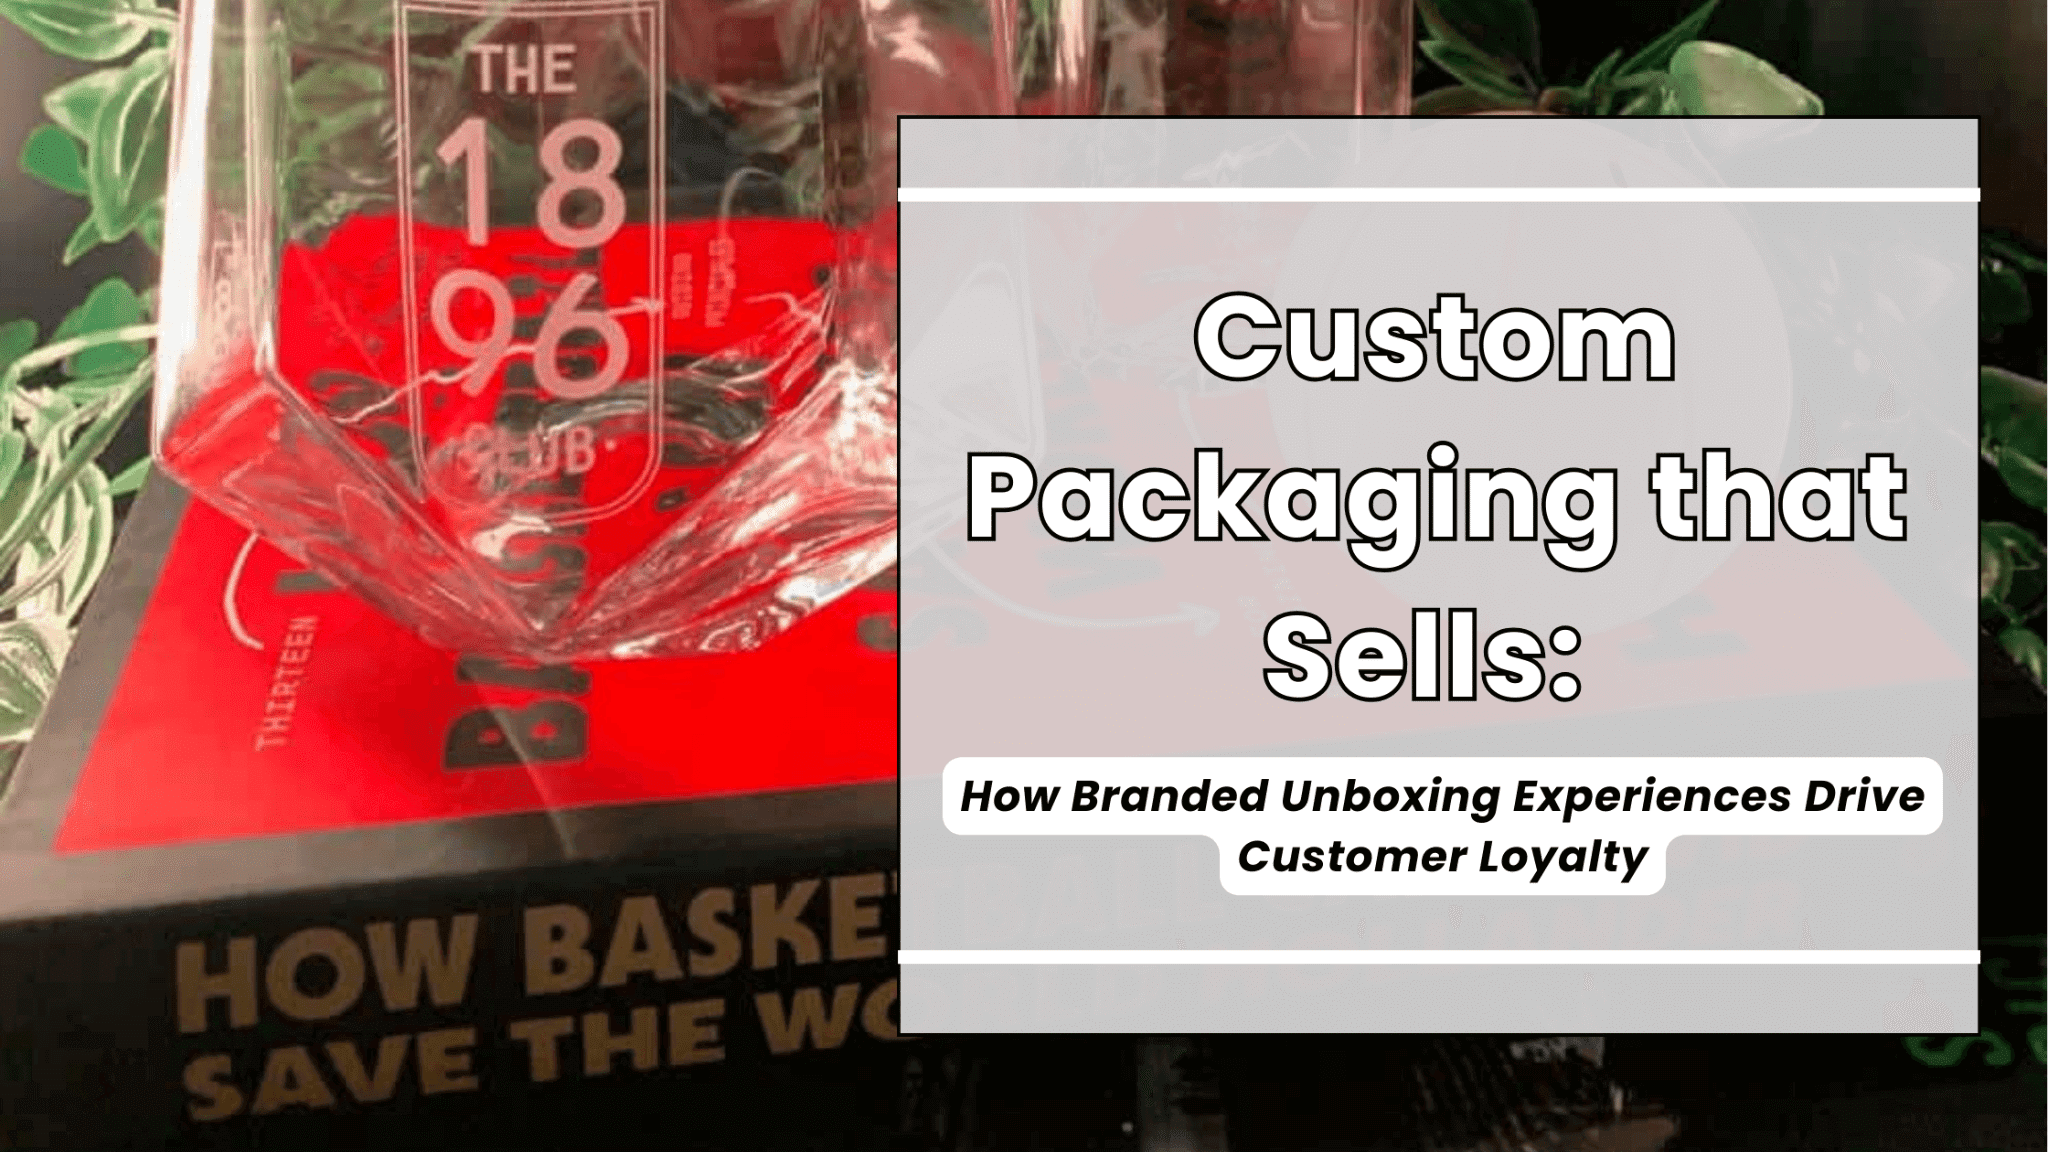
JNP’s TCU Basketball donor gift box combined purple branded packaging and ribbon with an engraved champagne bottle, etched flutes, a crystal basketball keepsake, and a satin-lined presentation box.
The project shows how the outer presentation and individually customized contents can share one identity. For your own program, decide which details belong on the packaging and which should appear on the keepsakes themselves.
Approve the Finished Pack, Not Only the Artwork
Ask what sample or approval options are available for the selected packaging. Review the complete arrangement before a full run when feasible. A flat artwork proof cannot answer every question about fit, handling, or assembly.
- Confirm all components and their quantities.
- Check the product fit, protection, and closing method.
- Review print placement, spelling, readability, and color expectations.
- Confirm the intended opening sequence and insert placement.
- Agree on the assembly steps and final quality check.
- Review outer shipping protection and receiving requirements.
The swag bag assembly and kitting guide covers packing lists, version control, and exception handling. For a managed order, discuss the scope through JNP’s kitting and fulfillment program.
Compare the Full Cost and Material Details
Request a quote that separates products, printing, setup or tooling, inserts, assembly, outer packaging, and delivery. Recipient variations and multiple destinations can change the amount of handling involved.
For materials, ask for the actual specifications and available disposal instructions. Consider reusable formats or recycled-content options where appropriate, but do not assume that every finish, adhesive, liner, or mixed-material component has the same disposal route.
Measure What the Packaging Program Actually Changes
Choose a small set of measures before the order ships: packing accuracy, reported damage, delivery exceptions, recipient feedback, and use of a relevant insert link. Compare like-for-like programs where possible and record other changes that could affect the result.
Do not assign a sales or loyalty lift to packaging without supporting data. A useful first review can simply identify what arrived correctly, what recipients found helpful, and what to improve in the next run.
Prepare Your Custom Packaging Brief
Bring the product list, dimensions, quantity, budget, brand files, personalization needs, destination plan, and required arrival date. Flag anything still awaiting approval.
Discuss the packaging brief with JNP to review suitable formats and the production scope. For seasonal gifts, connect the presentation to your corporate holiday gifting program before finalizing the assortment.