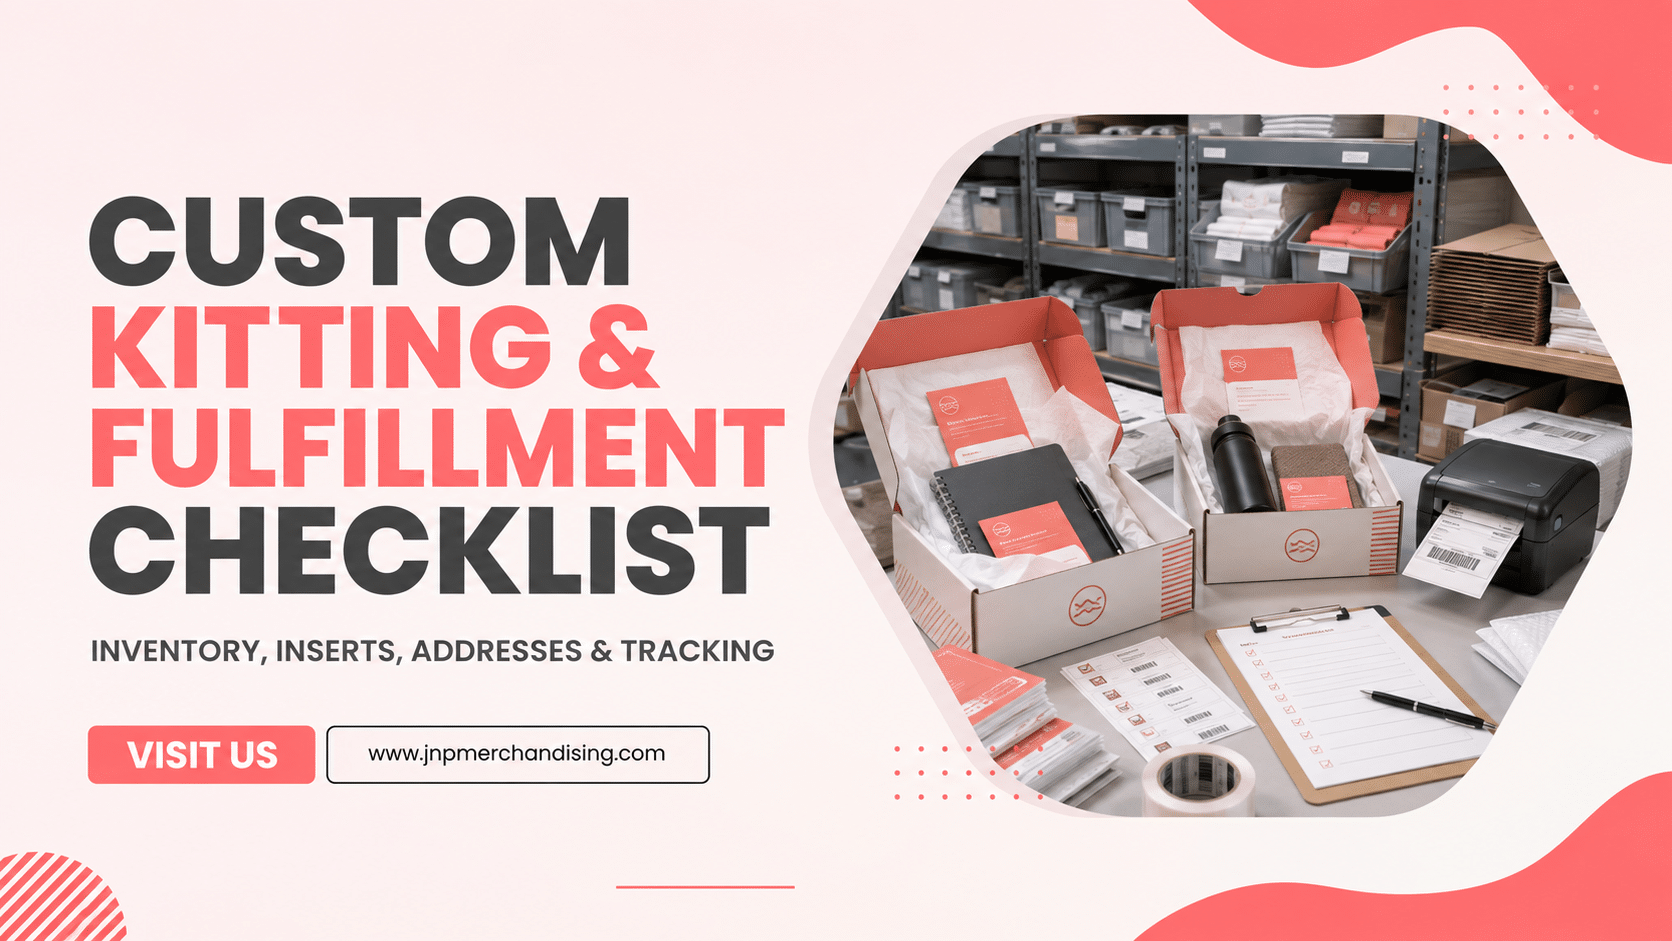
Custom kitting and fulfillment turns individual products, packaging, inserts, and recipient data into one complete delivery program. The work is operational as much as creative. Every kit needs a defined bill of materials, inventory controls, an approved pack-out, accurate addresses, quality checks, tracking, and an owner for exceptions.
Quick answer: Freeze the kit contents and quantities before assembly. Receive and count every component, approve one finished sample, validate the recipient file, and track each order through delivery. Separate normal orders from exceptions such as missing inventory, bad addresses, damage, returns, and late additions. A clear exception log prevents one problem from disrupting the full program.
Define the Program Before Products Arrive
A kit should have a clear recipient, purpose, delivery model, and success measure. Employee onboarding, conference mailers, influencer seeding, client gifts, and VIP invitations require different products and operating rules.
Document:
- program objective and recipient group
- total quantity and planned reserve
- kit versions or tiers
- required delivery window
- bulk, event, or multi-address shipping
- personalization fields
- approval owner and exception owner
JNP Merchandising supports custom gifting and promotional merchandise programs that can combine product sourcing, design, assembly, and delivery.
Create a Bill of Materials for Every Kit Version
The bill of materials is the source of truth for assembly. It should identify every physical and printed component.
Include:
- SKU or item name
- supplier or source
- quantity per kit
- total quantity ordered
- size, color, or personalization rule
- decoration and artwork version
- individual packaging requirements
- position inside the kit
- substitution rule
- quality-control requirement
If there are several tiers, create separate bills of materials. Do not ask the assembly team to interpret which item belongs in which box.
Receive and Reconcile Inventory
Assembly should not begin until every critical component has been received, counted, inspected, and reconciled against the order.
- Record each incoming shipment.
- Compare carton counts with packing documents.
- Open and inspect a practical sample from each item.
- Check color, decoration, spelling, size, and obvious damage.
- Separate approved inventory from holds and rejects.
- Update the available count before pack-out.
Do not treat a shipping notification as proof that usable inventory is available. A late or incorrect component can hold up the complete kit.
Approve One Finished Kit as the Pack-Out Standard
Build a complete sample using the actual products, insert sequence, packaging, protective materials, and closure method. Review it from the recipient’s point of view and from the shipping carrier’s point of view.
Confirm:
- all components fit without damage
- the first visible item is intentional
- logos and messages face the correct direction
- the insert is easy to find and read
- fragile or heavy items cannot move dangerously
- the package closes cleanly
- the final dimensions and weight are recorded
Photograph the approved kit and use the images beside the bill of materials at the assembly station. For presentation ideas, see JNP’s custom packaging guide.
Build an Assembly Workflow That Prevents Omissions
Choose a repeatable sequence. The order should make it difficult to skip an item or mix versions.
A controlled line may include:
- empty package inspection
- protective material placement
- hero product
- supporting products
- recipient-specific item
- printed insert or message
- presentation layer and closure
- final count and quality check
- shipping label match
Use separate work zones for blank materials, in-process kits, completed kits, rework, and damaged products. Physical separation reduces accidental duplication and omission.
Control Personalization and Recipient Data
Personalized kits require a direct connection between the recipient file and the physical pack-out. Use one approved data source and limit access to the people who need it.
Useful fields may include:
- unique recipient or order ID
- name and company
- shipping address
- kit tier
- size or product variation
- personalization text
- delivery notes
- consent or data status when relevant
Standardize capitalization, remove duplicates, validate required fields, and freeze the approved file. A change after production starts should create a documented exception.
Validate Addresses Before Labels Are Produced
Bad address data creates delays, returns, and replacement cost. Check for missing apartment or suite information, inconsistent postal codes, duplicate recipients, non-deliverable formats, and international address requirements.
Define a deadline for corrections and an owner who can contact the program team. Do not let unresolved rows silently enter production. Mark them as holds until the needed information is provided.
Match Labels to the Correct Kit
When kits vary by recipient, the label process must prevent a correct package from going to the wrong person. Use a shared identifier on the recipient record, personalization item, pack slip, and shipping label.
Before sealing:
- scan or confirm the recipient ID
- match the kit tier and variation
- verify the personalization
- confirm the address label
- record final quality-control status
For non-personalized bulk kits, lot or carton controls can help reconcile totals.
Create an Exception Log
Exceptions are normal. Untracked exceptions are the problem.
Log:
- missing or damaged component
- incorrect personalization
- address hold
- late recipient addition
- out-of-stock variation
- carrier exception or return
- replacement request
Each row should have an owner, status, next action, and resolution date. Keep exception inventory separate so the team knows what can be used for replacements.
Track Shipment and Delivery Status
A program is not complete when labels are created. Track the delivery lifecycle.
| Status | Meaning | Next action |
|---|---|---|
| Ready | Kit passed quality control | Create or match label |
| Shipped | Carrier accepted shipment | Monitor movement |
| In transit | Package is moving | Watch delivery window |
| Exception | Carrier or address issue | Investigate and contact owner |
| Delivered | Carrier reports completion | Close or monitor recipient feedback |
| Returned | Package came back | Correct, replace, or hold |
Share the right level of reporting with the program owner. Individual recipient data should remain limited to authorized users.
Custom Kitting and Fulfillment Checklist
- Program brief approved
- Recipient groups and kit tiers defined
- Bill of materials complete
- Artwork and personalization rules approved
- All critical inventory received and counted
- Finished sample kit approved and photographed
- Assembly sequence documented
- Recipient file cleaned and frozen
- Addresses validated
- Quality-control method assigned
- Labels matched to kit variations
- Tracking dashboard ready
- Exception owner and replacement inventory confirmed
For event-specific distribution, review JNP’s conference merchandise planning guide. For employee programs, see the new hire onboarding kit guide.
Frequently Asked Questions
What is custom kitting?
Custom kitting is the controlled process of combining selected products, printed materials, packaging, and recipient-specific details into a complete unit for bulk or individual distribution.
What is the difference between kitting and fulfillment?
Kitting focuses on assembling the correct components. Fulfillment includes receiving, storage, order processing, labeling, shipping, tracking, returns, and exception handling.
How can teams prevent missing items?
Use a bill of materials, a fixed assembly sequence, separate work zones, an approved visual sample, and an independent final check. Reconcile completed kits against component usage and remaining inventory.
What data is needed for multi-address shipping?
Programs commonly need a unique recipient ID, name, complete shipping address, kit tier, product variation, personalization field, and delivery notes. Collect only the data needed and control access.
How should returns and replacements be handled?
Assign an exception owner, keep replacement inventory, record the cause and status, correct address information, and connect the replacement to the original recipient ID and tracking record.
For a practical event assortment, explore branded conference survival kits. When you are ready to scope production and recipient deliveries, use JNP’s swag kitting and fulfillment program to bring the packing list and shipping requirements together.
Build the Fulfillment System Before Assembly Starts
Reliable kitting makes the creative concept repeatable. A documented bill of materials, approved sample, clean data file, quality check, and exception log help every recipient receive the intended kit.
Discuss a custom kitting and fulfillment program with JNP. Share the audience, quantity, components, personalization needs, delivery model, and required in-hands date so the team can evaluate the right workflow.