If live events are having a moment, on-site activations are having an even bigger one. Brands are pouring more energy into in-person experiences, and for good reason. When an activation is done right, it does not just create a line. It creates attention, social proof, and a guest experience people actually remember. But the difference between a station that feels effortless and one that feels chaotic usually comes down to logistics, not aesthetics.
That is the part people underestimate.
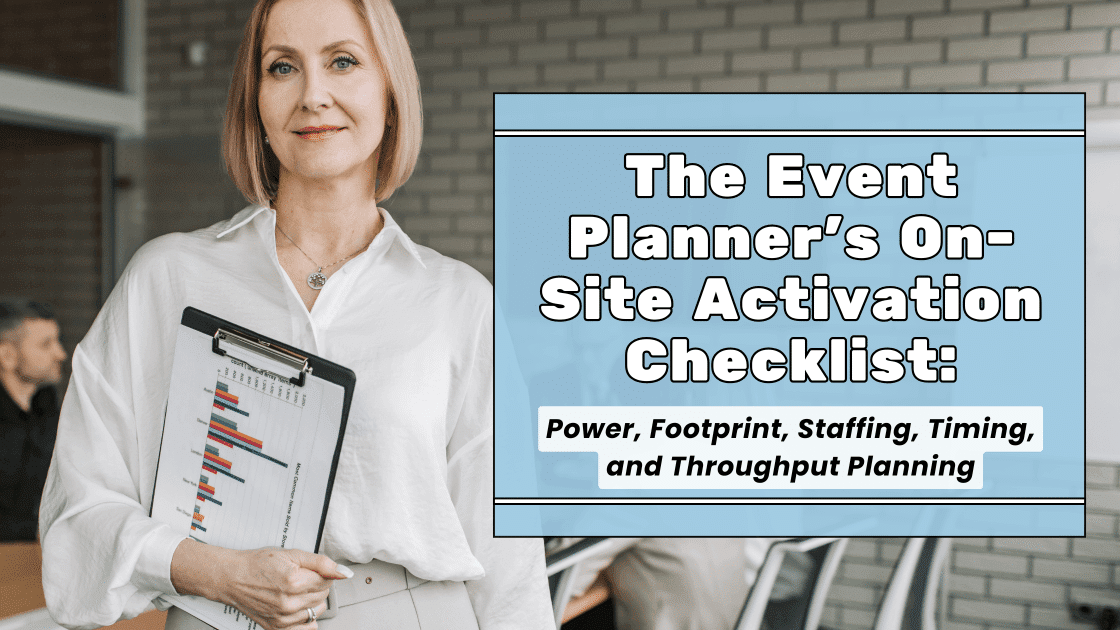
A beautiful setup can still flop if the power is wrong, the footprint is cramped, the intake process is messy, or the line gets so long that guests walk away. At JNP Merchandising, we love the fun side of merch, but we are equally obsessed with what makes the fun actually work. This is the checklist we think every event planner should run before saying yes to a live activation.
What Makes an On-Site Merch Activation Run Smoothly
A smooth activation feels easy to the guest, but behind the scenes it is anything but random. It works because every moving part was thought through in advance.
At the highest level, your activation needs five things working together:
- enough power for the equipment you are bringing
- enough physical space for the station, the line, and backstock
- enough staff to keep the experience moving
- enough time for setup, service, and breakdown
- enough throughput to match actual guest volume
That last one matters a lot. If your activation is built for 25 customizations an hour but your event traffic suggests 100 guests an hour will want in, you do not have a branding problem. You have a capacity problem.
This is also where product selection comes in. Some items are naturally faster to personalize than others. For example, soft goods and fan-favorite giveaways like custom football towels for sports and spirit-driven events can work beautifully when speed matters. More loungey, design-forward items like branded pillows for events may make more sense in a styled gifting zone or VIP environment where dwell time is higher.
Pro tip: Before locking your concept, ask one blunt question: “Will this still feel premium when 40 people are waiting?”
Power Requirements and Electrical Planning
Power planning is where grown-up event decisions get made.
Do not assume your venue power is simple, nearby, or cleanly placed. Before show day, confirm:
- wattage and voltage requirements for every machine
- how many outlets are actually available
- whether the circuit is shared with lighting, AV, catering, or other vendors
- how far the power source is from your activation footprint
- whether cable covers, taped runs, or protective routing will be required
If your activation uses live embroidery, engraving, heat press equipment, tablets, label printers, ring lights, or POS devices, you need an actual electrical map, not vibes. Even if a machine technically runs on standard power, the real-world setup can get messy fast when multiple devices are pulling at once.
A smart planner asks for venue power specs early and sends them straight to the activation vendor. That cuts down on last-minute surprises and helps everyone plan extension cord routing safely. If you want a good baseline for cord safety and temporary power practices, it is worth reviewing OSHA guidance on flexible cords and temporary wiring rules.
Pro tip: Build in one backup outlet path. The activation that survives the weird venue power issue is usually the activation that wins the day.
Footprint Planning: Tables, Queues, Storage, and Back-of-House
A merch station is never just the table.
It is the table, the guest-facing moment, the queue, the pickup area, the packaging zone, the operator clearance, and the product storage that nobody wants to see but everybody needs. When planners only account for the “pretty” footprint, everything starts spilling outward in real time.
Think about your space in layers:
Front-of-house
- check-in or greeting point
- sample display
- ordering or intake surface
- visible branding and signage
Service zone
- machine table
- operator clearance
- finished goods handoff
- quality-check spot
Back-of-house
- inventory bins
- blank product storage
- extra packaging
- damaged goods or misprints holding area
- personal items and tools
Also, design the line on purpose. A queue that cuts across a hallway, blocks an exit, or crowds a nearby booth makes the activation feel sloppy even if the merch is gorgeous. Use stanchions, floor markers, or angled queue flow so guests know exactly where to stand and where to move next.
Pro tip: Sketch the footprint to scale before the event. Not in your head. On paper. Or in a deck. It will save you.
Staffing Roles: Operator, Greeter, Runner, and Quality Control
The fastest way to slow down an activation is to make one person do everything.
On-site merch stations run better when roles are clearly separated, even on lean teams. Here is the setup we like most:
Operator
Runs the machine or personalization tool. This person should not also be answering twenty guest questions while trying to hit clean output.
Greeter
Welcomes guests, explains the process, manages expectations, and makes the line feel organized instead of confusing.
Runner
Restocks blanks, moves completed items, swaps materials, and keeps the operator from leaving station.
Quality Control
Checks names, placement, color, spelling, packaging, and final presentation before handoff.
If your event is smaller, one person can combine greeter and runner. But operator and QC are where you want the least chaos. Personalized merch gets risky when no one is catching misspellings or wrong item selections before handoff.
Pro tip: Give every role a one-sheet cheat sheet. Include the process, common guest questions, escalation contacts, and the one thing that role is absolutely responsible for protecting.
Timing: Load-In, Setup, Peak Hours, and Strike
Great activations respect time the same way they respect design.
A solid timing plan covers four windows:
- Load-in: when gear, tables, inventory, and signage arrive
- Setup: when the station is built, tested, and merch is staged
- Peak hours: when you expect the highest guest demand
- Strike: when the station is packed down without disrupting the rest of the event
You do not want setup ending five minutes before doors. You want time to test machines, troubleshoot Wi-Fi, confirm spelling workflows, stage samples, and reset anything that feels off.
Peak-hour planning is where many brands miss the mark. If your keynote ends at 11:00 and lunch starts at 11:05, your activation might see its biggest rush in a brutally short window. That should shape your staffing, your line strategy, and even the product you choose to personalize.
And strike matters more than people think. If teardown overlaps with guest flow, VIP programming, or other vendors trying to exit the same loading area, the end of the day can turn into a traffic jam.
Pro tip: Ask the venue when the room is busiest, not just when the event starts. Those are often two very different things.
Throughput Planning: Guests Per Hour and Line Management
Throughput is the heartbeat of the whole activation.
You should know, before the event, approximately how many guests you can process per hour. That number depends on:
- the product
- the personalization method
- the number of machines
- the skill of the operator
- the complexity of the request
- the intake system
- how many approvals happen before production starts
A clean activation flow usually looks like this: greet, collect request, confirm spelling, queue, personalize, QC, handoff.
The more steps you can simplify, the better. If you expect high volume, use limited personalization options. Maybe guests can choose from two thread colors instead of eight. Maybe name length is capped. Maybe monograms are faster than full custom phrases. Premium does not have to mean unlimited.
For very high-demand moments, offer scheduled pickup times, digital waitlists, or a return window. In some cases, the smartest move is to meter the line instead of letting it balloon visually.
Pro tip: If the line itself is becoming the story, your throughput math probably needs work.
Inventory Control On-Site
Inventory problems can quietly wreck an activation.
If you run out of the most popular colorway, lose count of blank units, or discover midway through that one size never made it to the floor, the guest experience takes the hit. On-site inventory control needs to be simple enough to execute under pressure.
Use:
- a live SKU count sheet
- separate bins for blanks, in-process items, and completed items
- a runner who owns replenishment
- a damages or misprint bin
- a close-of-day count process
Label everything clearly. Do not let “organized chaos” become actual chaos. If multiple product variations are in play, use big visual labels, not tiny handwritten notes hidden on the back of a carton.
Pro tip: Keep a small reserve of best-sellers off the floor. You want a recovery option when demand spikes.
Guest Data Capture and Personalization Intake
A pretty activation with a messy intake process is asking for mistakes.
Names get misspelled. Handwriting gets misread. Guests change their minds mid-order. The cleanest fix is a standardized intake system. That can be a tablet, QR form, printed ticket, or a digital queue workflow, depending on the event.
What matters most is that you capture:
- guest name
- exact personalization request
- item choice
- color or style choice
- pickup status
- any optional marketing opt-in, if appropriate
This is also where digital tools help a lot. A QR-led intake option can reduce handwriting errors and keep the line moving, especially for larger activations. If you are thinking through the bigger personalization picture, McKinsey’s research on personalization is a smart read, and for QR-driven workflows, the State of QR Codes 2025 gives useful context on why scan-based engagement keeps growing.
Pro tip: Always make guests confirm spelling before production starts. Always.
Contingency Planning: Wi-Fi Issues, Machine Downtime, Rushes
This is the section nobody wants to need, and every good team needs anyway.
Contingency planning should cover:
- Wi-Fi going down
- tablets dying
- printer jams
- machine downtime
- staffing gaps
- rush windows bigger than forecast
- product damage
- missing power access
- guest disputes over names, timing, or availability
Your backup plan might include a hotspot, printed intake forms, spare cables, duplicate tools, extra blanks, or a simplified service mode you can switch to during peak periods.
Sometimes the best contingency is a temporary format change. If the line gets too long, move from full customization to limited customization. If one machine goes down, pause same-day output and move to later pickup or post-event shipping for overflow.
And yes, tell guests what is happening. A calm explanation protects the brand more than pretending the delay is invisible.
For a real example of how merch can still feel personal and celebratory when logistics are thoughtfully handled, check out JNP’s Wesleyan championship totes and shirts project.
Pro tip: A backup plan is part of the experience design. Guests may never see it, but they absolutely feel the difference.
Great Activations Are Built on Logistics, Not Luck
The most successful on-site activations do not just look cool on Instagram. They move well, staff well, recover well, and make guests feel like the brand thought of everything.
That is the real flex.
When power is mapped, space is intentional, staffing is clean, timing is realistic, and throughput is honest, your activation starts feeling polished before the first item is even personalized. That is how you protect the guest experience and the brand at the same time.
If you want on-site merch that feels elevated and actually works under event pressure, start with the checklist. Then bring in partners who know how to make the moving pieces look effortless.
The best on-site activations are not built on luck, last-minute scrambling, or pretty renderings. They are built on logistics that are tight enough to support the magic.